Virtual Routers
Virtual Routers provide routing across Virtual Networks. Routing is implemented with a Virtual Machine appliance.
Creating Virtual Routers
An OVA containing the Virtual Router is available as an OVA which can be imported from the following URL:
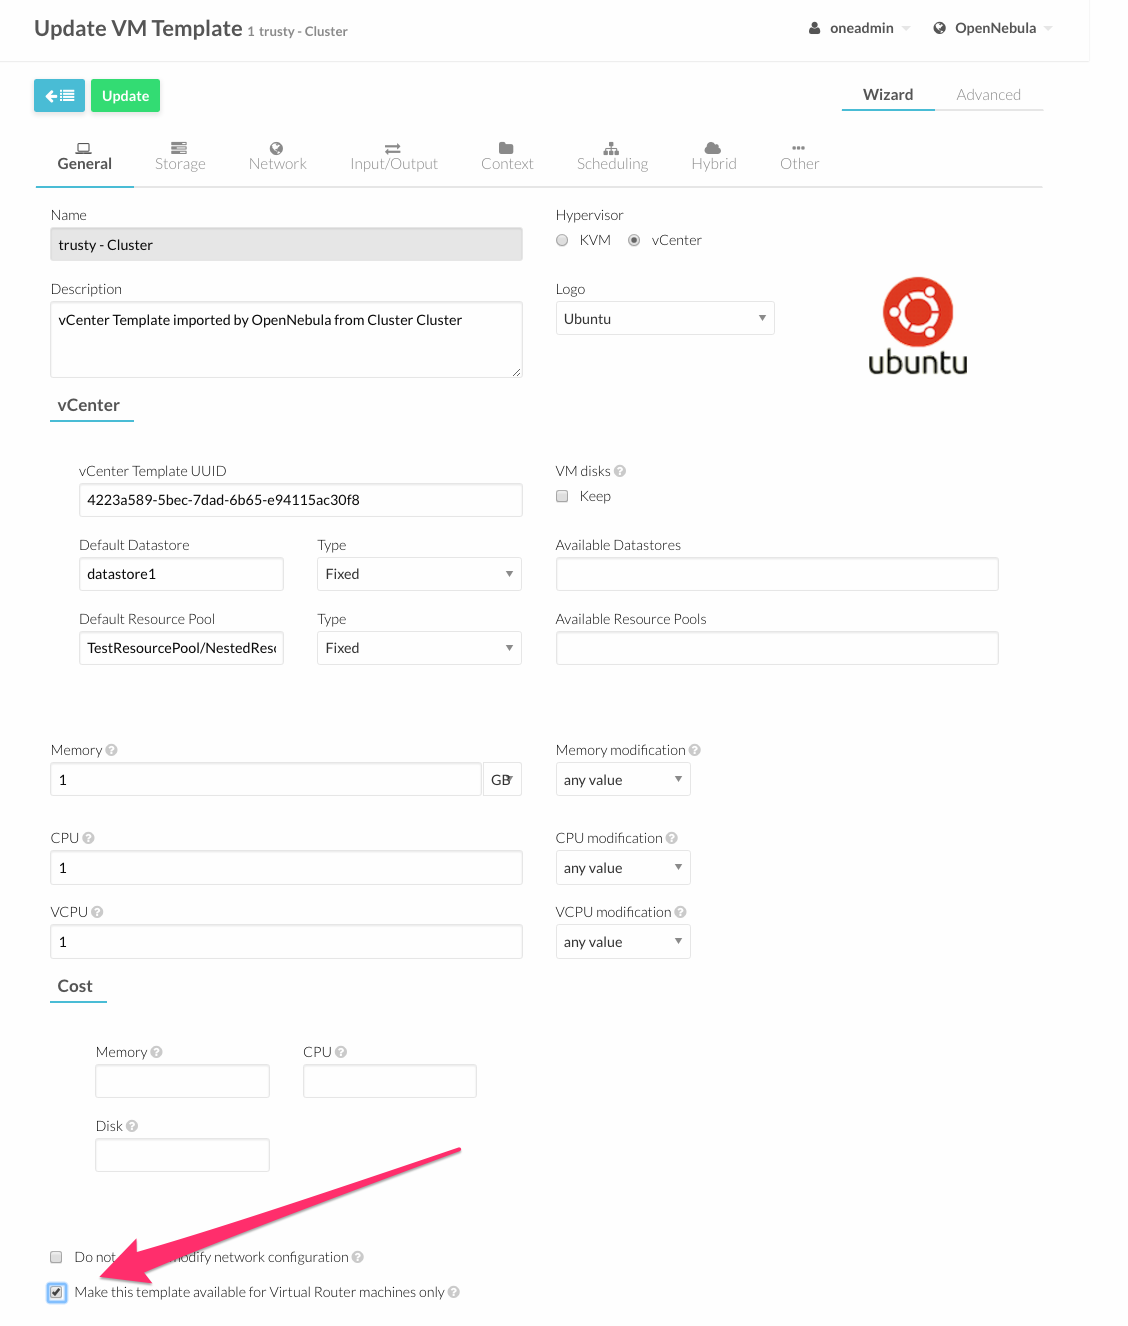
The OVA needs to be registered as a VM Template directly in vCenter. Afterwards the VM Template can be imported in vOneCloud, and set the template as a Virtual Router at the bottom of the General tab of the vOneCloud VM Template update wizard.
Virtual Routers can be seamlessly deployed in high availability mode.
To create a new Virtual Router, proceed to Instances --> Virtual Routers and click on the + icon. Follow the wizard to select the Virtual Networks that will get logically linked to it. This connection takes effect when the Virtual Machine containing the VR Appliance is automatically deployed, with a network interface attached to each Virtual Network.
For each Virtual Network, the following options can be defined:
- Floating IP. Only used in High Availability, explained below.
- Force IPv4. You can force the IP assigned to the network interface. When the VR is not configured in High Availability, this will be the IP requested for the Virtual Machine appliance.
- Management interface. If checked, this network interface will be a Virtual Router management interface. Traffic will not be forwarded to it.
Once ready, click the “create” button to finish. vOneCloud will create the Virtual Router and the Virtual Machines automatically.
Managing Virtual Routers
Using the Virtual Routers tab you can retrieve the generic resource information such as owner and group, the list of Virtual Networks interconnected by this router, and the Virtual Machines that are actually providing the routing.

The Virtual Networks connected to the VR machines can be modified with the attach/detach actions.
Actions can be found in the Virtual Router’s main information panel, in the networks table. The options to add a new Virtual Network are the same that were explained for the creation wizard, see previous section.
After a NIC is attached or detached, the Virtual Machine appliances are automatically reconfigured to start routing to the new interface. No other action, like a reboot, is required.
Virtual Machines associated to a Virtual Router have a limited set of actions. Specifically, any action that changes the VM state cannot be executed, including terminate.
To terminate a Virtual Machine associated with a Virtual Router, you need to delete the Virtual Router.
High Availability
More than one Virtual Machines can be associated to a Virtual Router in order to implement a high availability scenario. In this case, vOneCloud will also assign a floating IP to the group of Virtual Machines, that will coordinate to manage the traffic directed to that IP.
To enable a high availability scenario, you need to choose 2 or more number of instances when the Virtual Router is created. In this scenario, the following Virtual Router options became relevant:
- Keepalived ID: Optional. Sets keepalived configuration parameter
virtual_router_id. - Keepalived password: Optional. Sets keepalived configuration parameter
authentication/auth_pass.
And for each Virtual Network Interface:
- Floating IP. Check it to enable the floating IP.
- Force IPv4. Optional. With the floating IP option selected, this field requests a fixed IP for that floating IP, not the individual VM IPs.
The floating IP assignment is managed in a similar way to normal VM IPs. If you open the information of the Virtual Network, it will contain a lease assigned to the Virtual Router (not a VM). Besides the floating IP, each VM will get their own individual IP.
Other Virtual Machines in the network will use the floating IP to contact the Virtual Router VMs. At any given time, only one VM is using that floating IP address. If the active VM crashes, the other VMs will coordinate to assign the floating IP to a new Virtual Router VM.
Customization
You can provide two optional parameters in the context to configure the keepalived service started in the Virtual Router VM:
VROUTER_KEEPALIVED_PASSWORD: Password used for the service to protect the service from packages of rogue machines. By default the service is configured without password.VROUTER_KEEPALIVED_ID: Number identifier of the service (0-255). This is useful when you have several virtual routers or other keepalived services in the same network. By default it is generated from the Virtual Router ID ($vrouter_id & 255) but you can specify it manually if needed.
These parameters can also be provided in the Virtual Router creation wizard.